Flossing, the right way.
- Home
- /
- Blog
- /
- Dental Advice
- /
- Flossing, the right way.
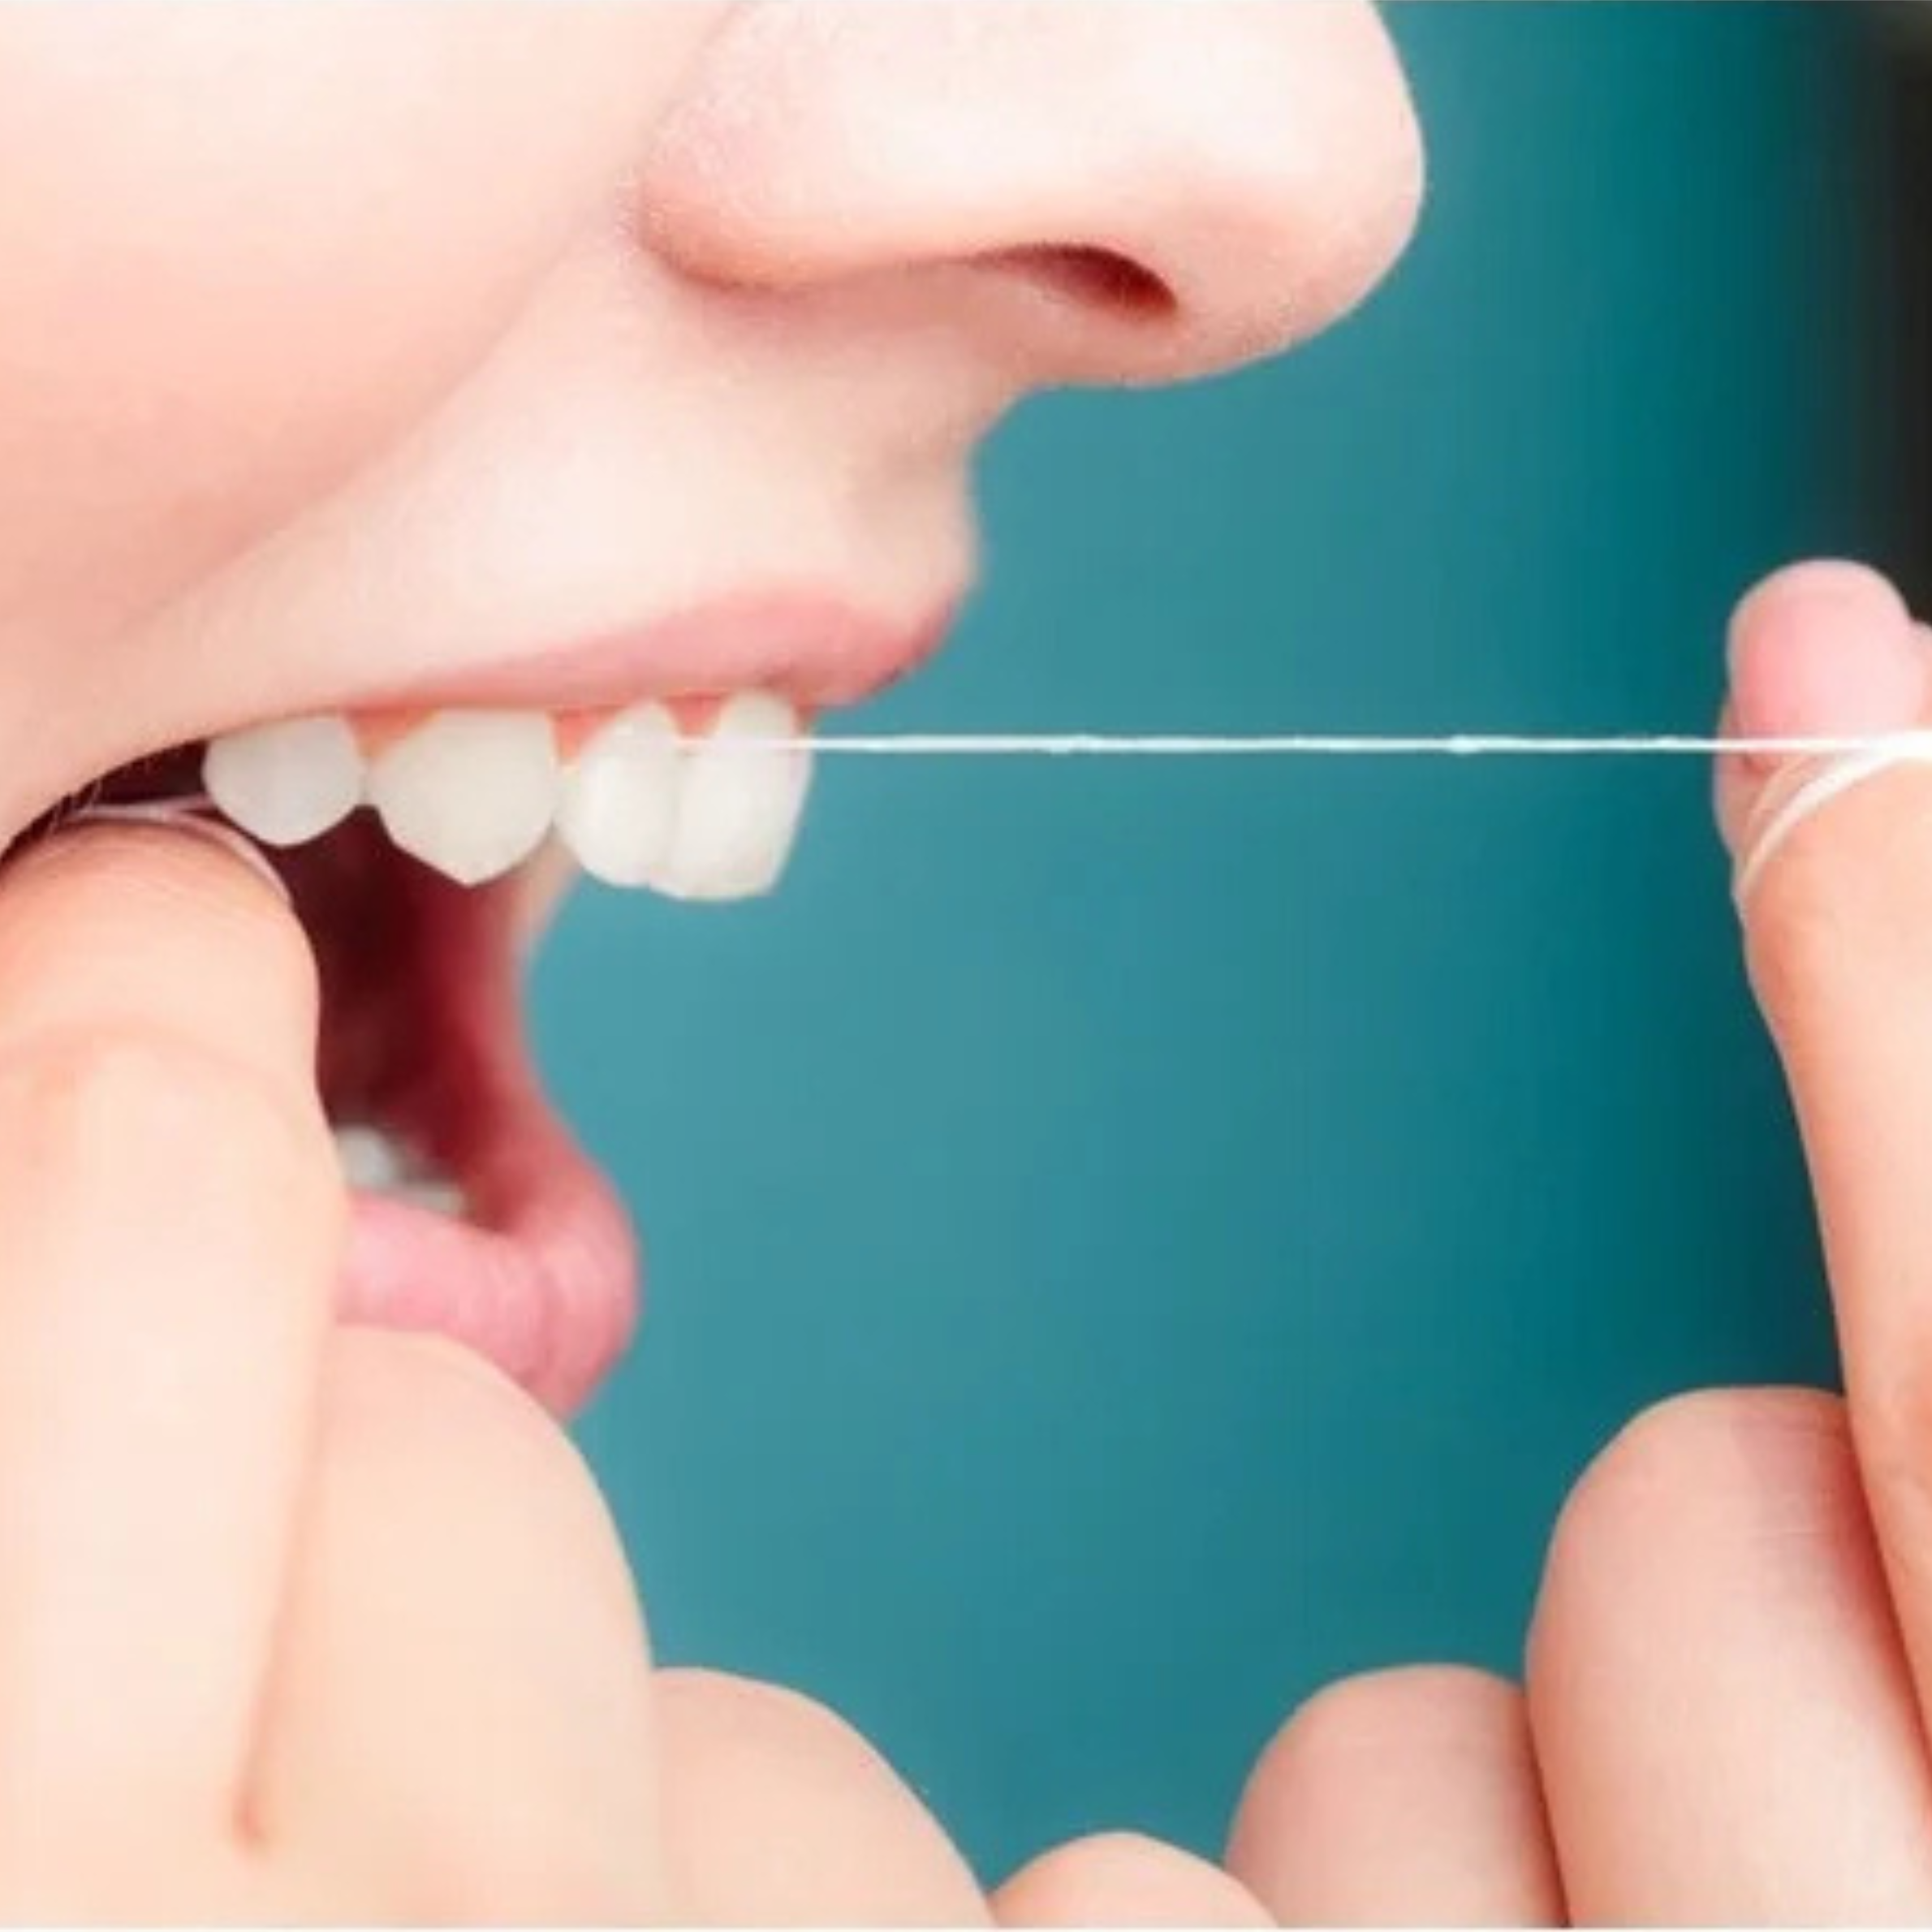
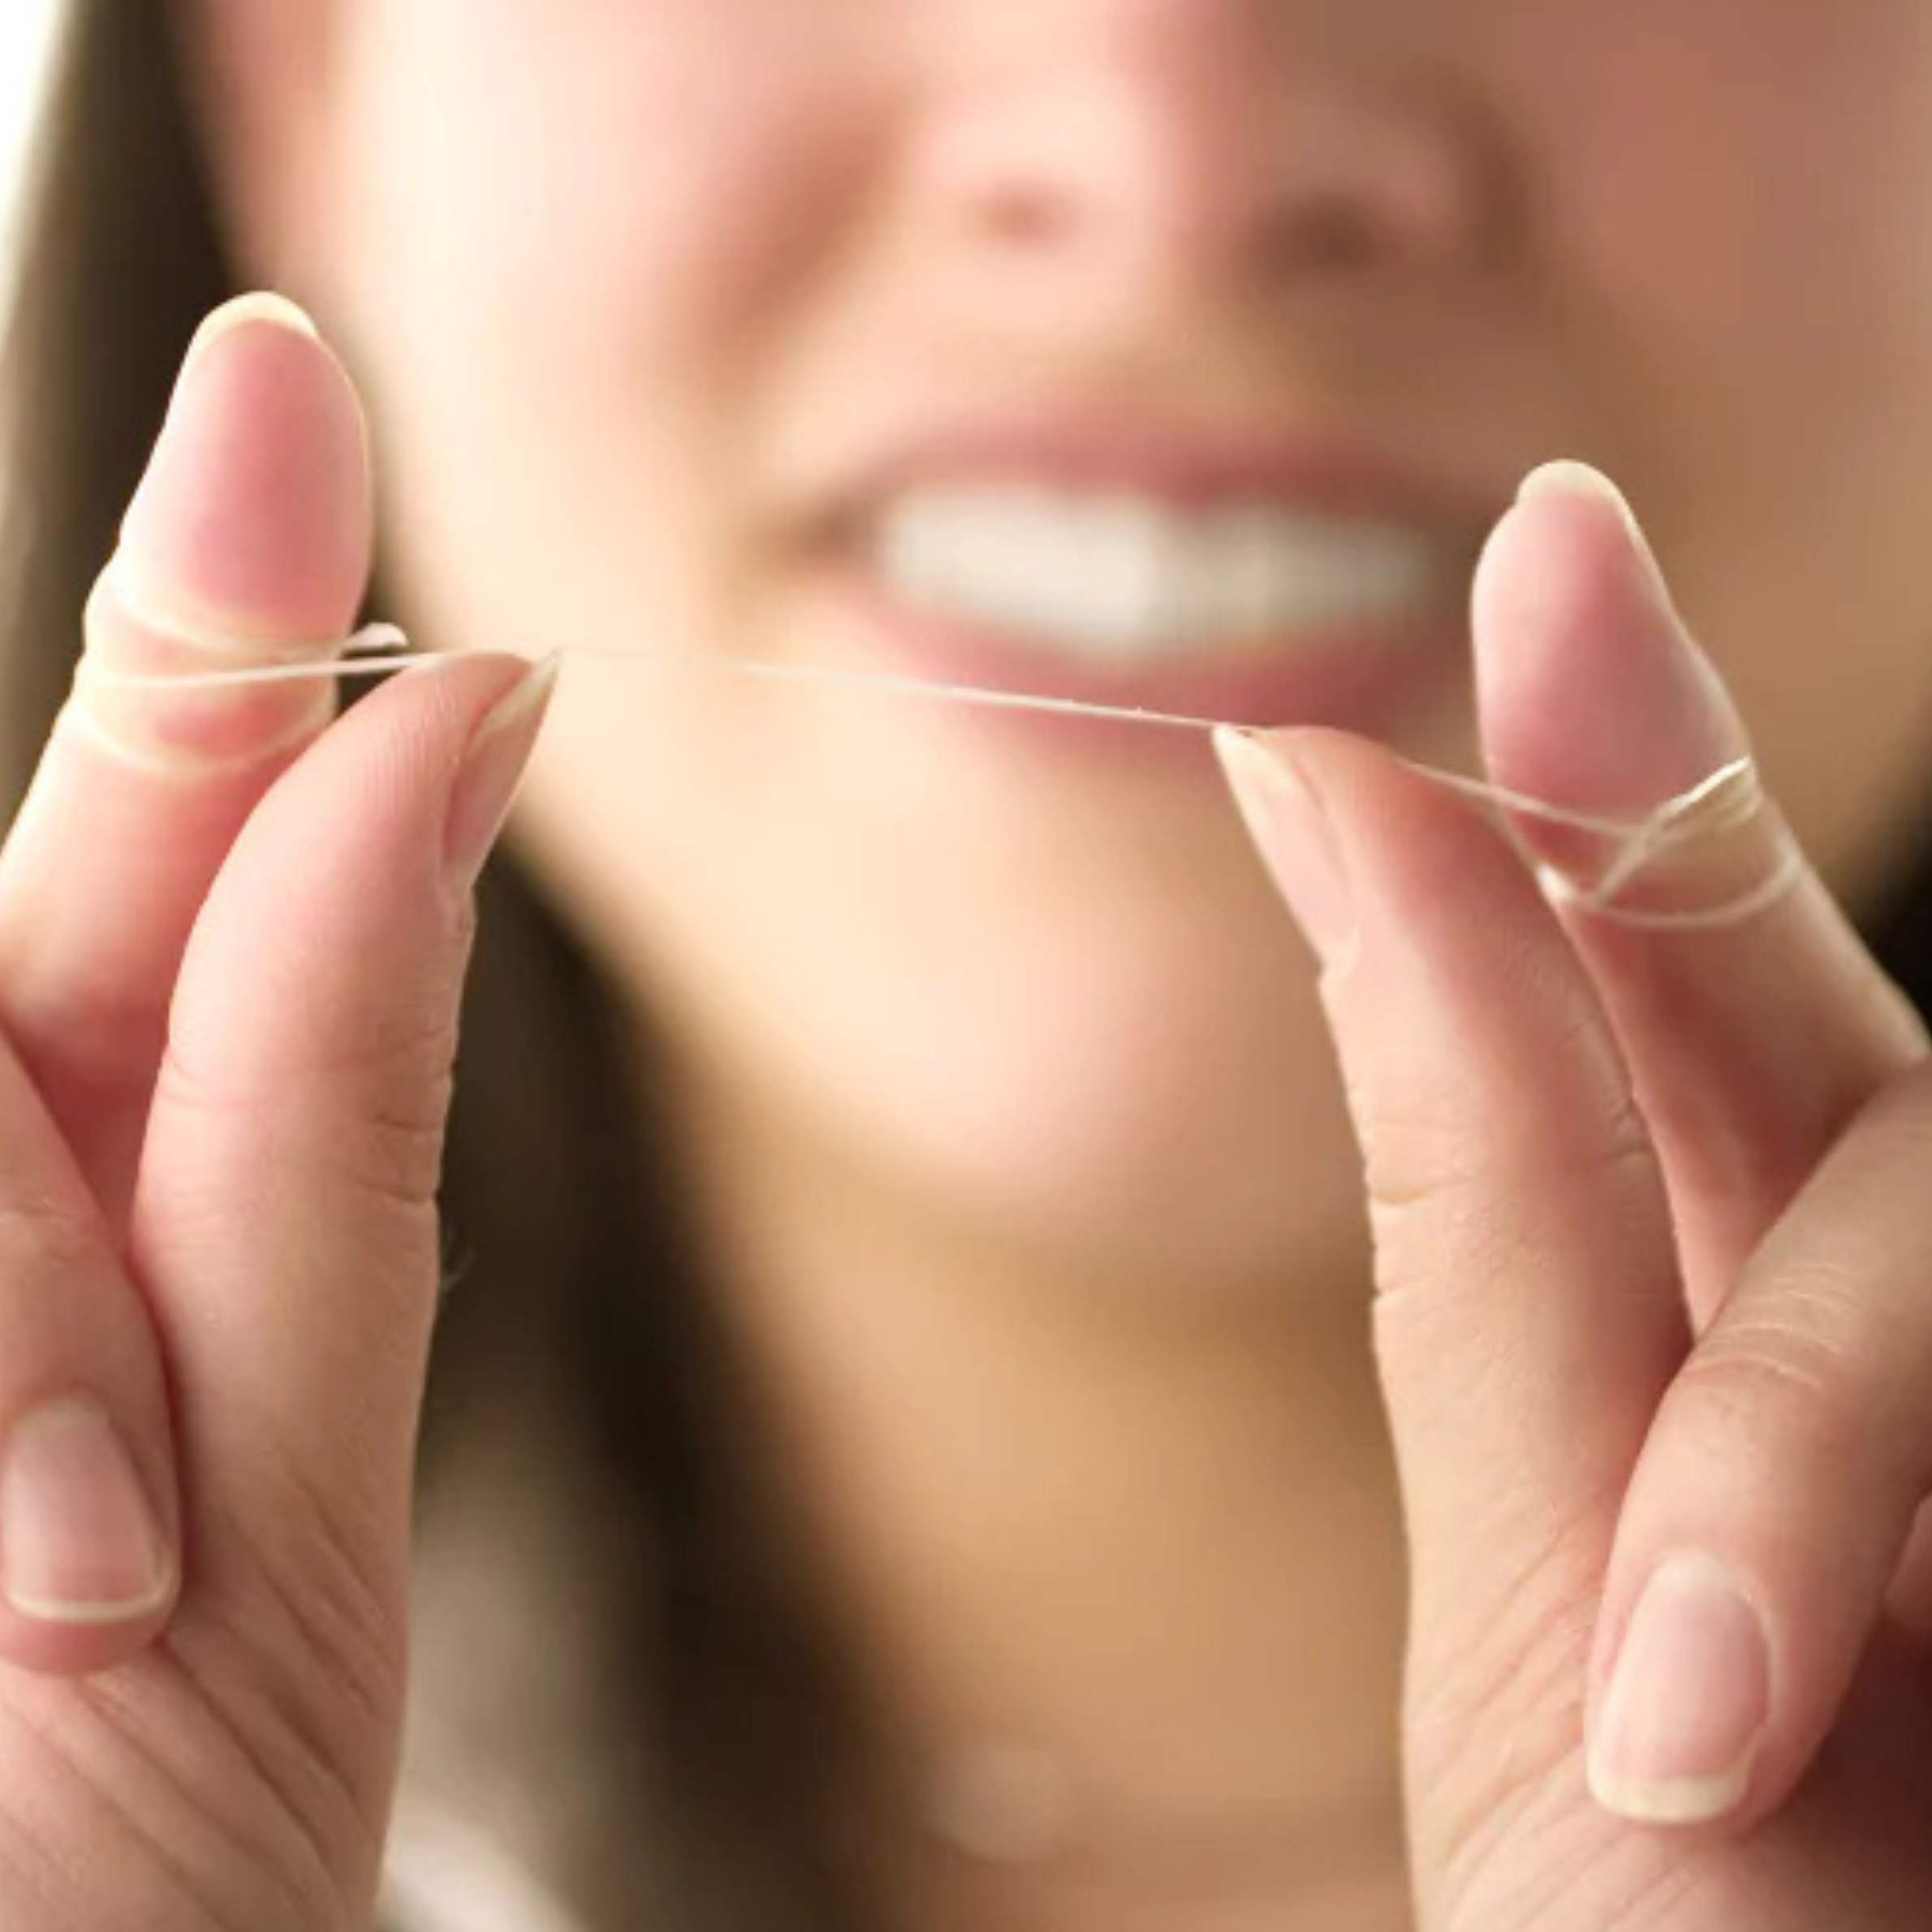
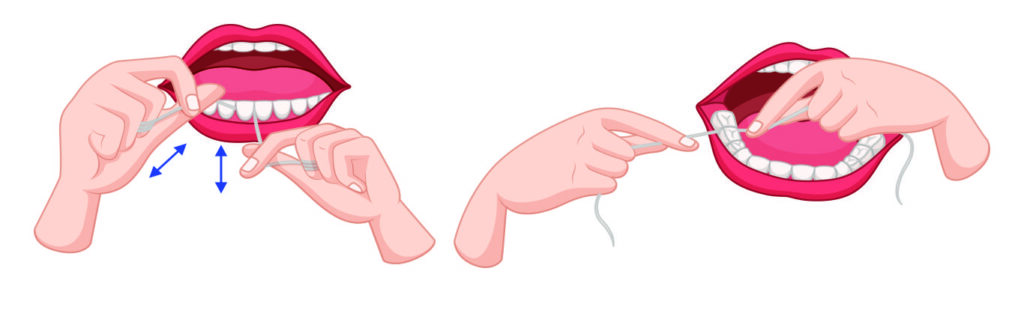
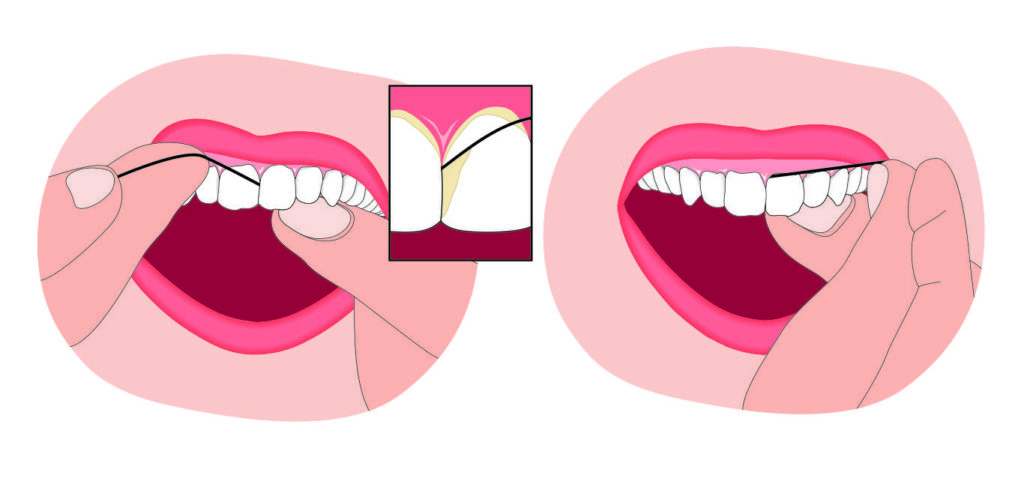
Flossing is one of the most essential, yet often overlooked, steps in maintaining excellent oral hygiene. While brushing removes plaque and food particles from the surfaces of your teeth, flossing takes care of the spaces in between that a toothbrush simply can’t reach. Done correctly, flossing can significantly reduce the risk of cavities, gum disease, and bad breath. Here’s a step-by-step guide to mastering the art of flossing for maximum effectiveness.


")